

USAGE INSTRUCTIONS
[click to enlarge]
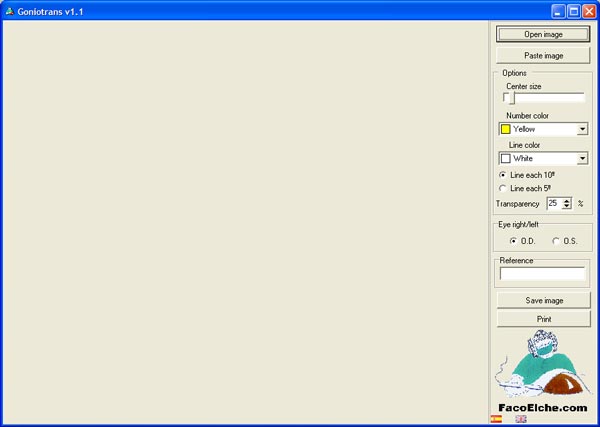
On the main window of the program there is a working area, that will be empty until an image is downloaded, and the available options on the right pane.
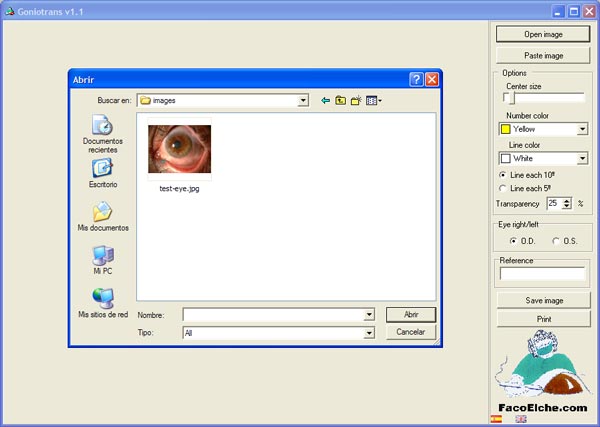
Upload an image
[click to enlarge]
To upload an image, we can do it in three different ways:
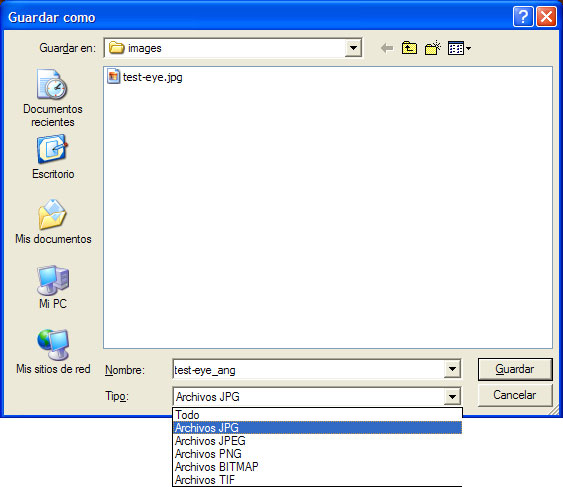
- Opening an image file and pressing the button “Open image“. A window will appear to select the image file to be open. The supported formats are JPG, PNG, BMP and TIF.
- Pasting a picture from the clipboard, pressing the button “Paste image“. It will only work if we have previously copied an image into windows clipboard. This will put one of the supported file formats over the working area of the program.
- Drag & drop one of the above mentioned file types over the working area of the program.
WORKING MODES
[click to enlarge]
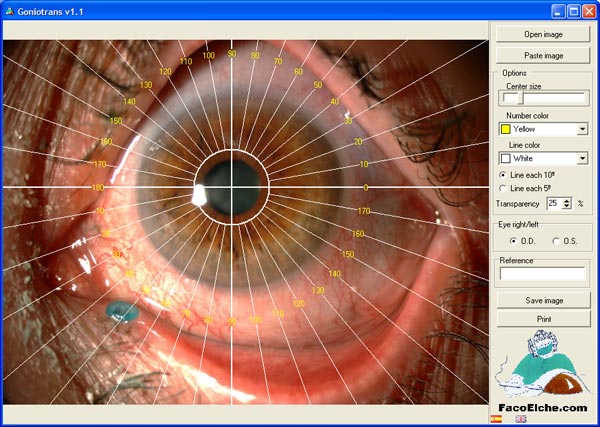
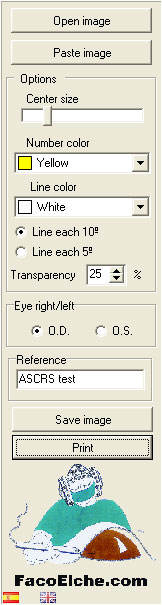
As soon as we have uploaded an image, the angles pattern will appear. We can then move freely with the mouse to any part of the image. To make it easier to centre the pattern, there are three available options on the right pane:
- Center size: change the size of the central circle, to focus with more accuracy on a point of reference in the image.
- Numbers color: change the color of the marks of the angles (by default are yellow), allowing an appropriate visualization on the final impression.
- Lines color: change the color of the radial lines as well as the circle of the adjustment, so it allows an appropriate contrast between the image and the pattern lines.
The software allows changing the default pattern, based on radials every 10°, and using a pattern based on radials every 5°, pressing the option “lines every 5 degrees” in the options pane.
In order to adjust the radial lines in the final document to your personal liking, we provide the option of adjusting the transparency of the pattern over the picture. This transparency will be applied when the image is printed, but it's not shown on the working screen.
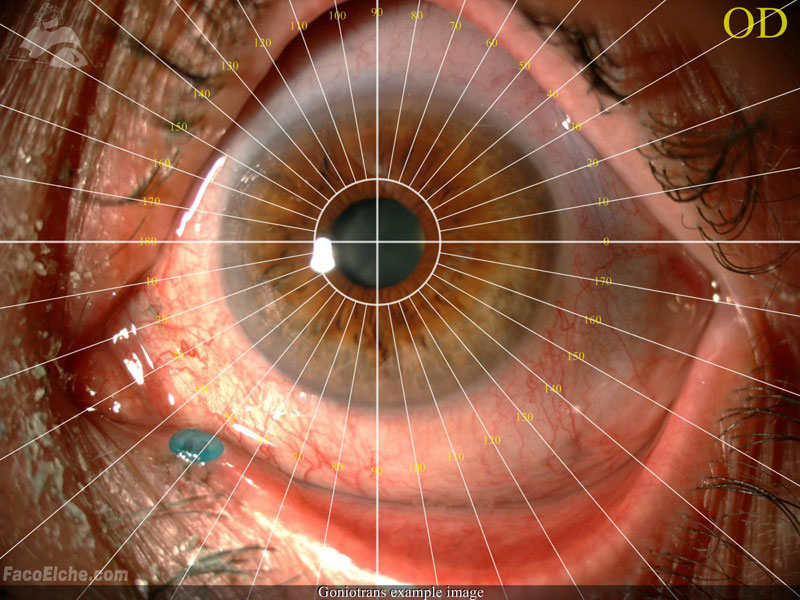
To avoid confusion, it is necessary to select which eye matches up with the image (OS/OD). That information will be displayed in the final image.
Finally there is a REFERENCE option to enter any custom text that will be displayed in the final image.
SCREENSHOTS
[click to enlarge]
[click to enlarge]
[click to enlarge]
[click to enlarge]

[click to enlarge]
[click to enlarge]